
How to edit with Impossible Things

Once you have Impossible Things installed in Lightroom Classic, editing your work only takes a few steps. [ How to Install Impossible Things ]
• STEP 1 – When you open Lightroom Classic after installation, log in to your account: File ▸ Plug-in Extras ▸ Impossible Things ▸ Account Login. Enter your account email and password and click Login. Once you are logged in, you stay logged in until you log out or switch accounts.


• STEP 2 – Before your first edit with a preset, run File ▸ Plug-in Extras ▸ Impossible Things ▸ Quick Tune on it. It takes a minute, uses no edit credits, and gives Impossible Things your own starting point for exposure and white balance with that preset. [ Quick Tune ]
• STEP 3 – Impossible Things works with RAW and DNG photos. Select the photos you would like to edit and go to File ▸ Plug-in Extras ▸ Impossible Things ▸ Edit Photos. This opens the Edit Photos dialog.
• STEP 4 – Choose your favorite preset or look. If you see a ✔ next to a preset, it has already been tuned by the artist [ What Are Artist Tuned Presets ✔ ]. If you don't have any presets, start with the Impossible Things Cloud Styles [ What Are Cloud Styles ]. Subscribers can edit with any preset installed in Lightroom.
Select any optional settings: [ What is Adaptive Lens Correction ] [ What is Adaptive Noise Reduction ] [ What is AI Masking Preconditioning ]
Review your available credits, edit rate, and the amount to be charged. If everything looks good, click Proceed.
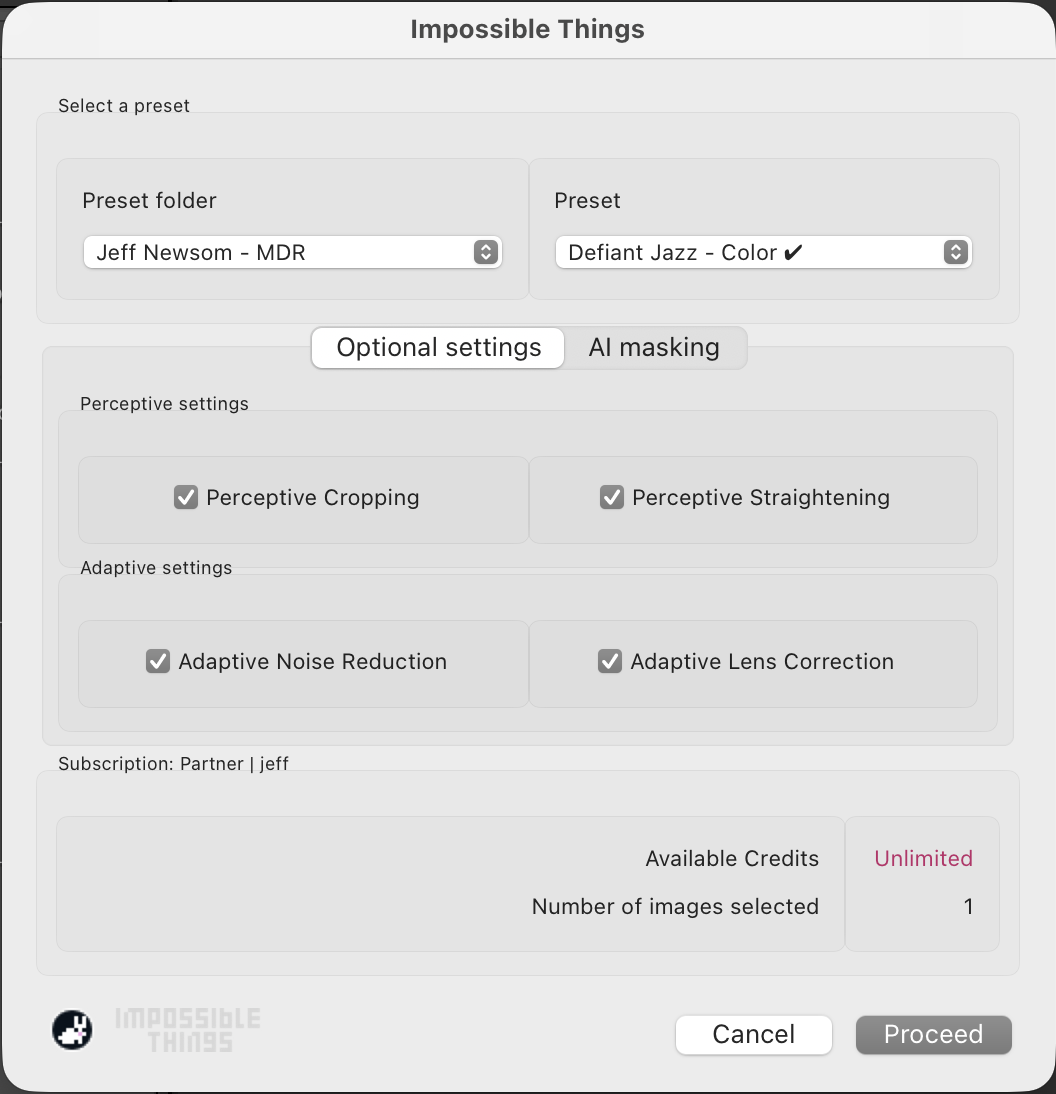
That's it! Impossible Things edits all of your images in Lightroom Classic while you watch. An internet connection is required. On credit plans, re-editing the same photos within 24 hours is free [ How to Use Free Re-Edits ].
Your taste is your own, so the results are a starting point. Adjust the photos you'd change, then select them and run File ▸ Plug-in Extras ▸ Impossible Things ▸ Learn. Every edit after that moves closer to your style. [ Learn ]