
How do I Install and Start the Culling Plugin?

Culling is built into the Impossible Things plug-in. There is nothing separate to install – you just need the current version of the plug-in.
If you're already using Impossible Things: open Lightroom Classic and accept the update dialog if one appears, or go to File ▸ Plug-in Manager ▸ Impossible Things and click Check for updates now. Restart Lightroom Classic when the update finishes.
If you're new to Impossible Things: install with the DVLOP Installer (How to Install Impossible Things), restart Lightroom Classic and log in under File ▸ Plug-in Extras ▸ Impossible Things ▸ Account Login.
Either way, you'll find culling under File ▸ Plug-in Extras ▸ Impossible Things ▸ Cull Photos. Culling is included with the Unlimited plan and needs an internet connection.
Apple Silicon Macs and macOS 27
Since 1.98 culling runs natively on Apple Silicon, so it works on macOS 27 without Rosetta. If you are still on version 1.92 on macOS 27, culling won't start – update the plug-in (above).
Starting a cull
- Select the photos you want culled.
- Go to File ▸ Plug-in Extras ▸ Impossible Things ▸ Cull Photos.
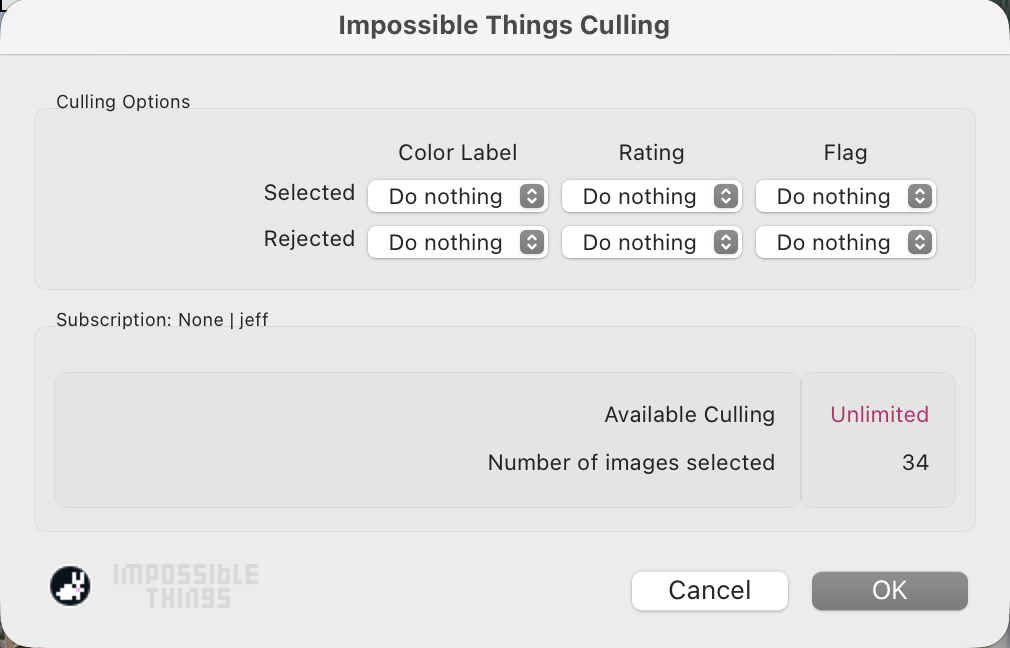
- The Culling Options dialog shows what's available on your plan. Confirm to start.
- The Impossible Things Culling window shows progress group by group. The first progress line can take 10–15 seconds to appear on Intel Macs and Windows.
- When you see Finished culling!, the flags, labels and the Selected, Duplicates and Rejected collections are in your catalog. File ▸ Plug-in Extras ▸ Impossible Things ▸ View Latest Culling Report opens the full report of the run.
If something goes wrong, see Culling errors and what they mean.