Getting Started – Tuning Tips
Tutorials

2 OPTIONS FOR STARTING WITH CUSTOM TUNING (steps below)
-
AUTO TUNE
– Auto Tune is the fastest and most effective way to tune a preset to your tastes. Auto Tune will automatically translate and apply adjustments to Custom Tuning. (USES NO EDIT CREDITS)
-
MANUAL TUNE
– Full control of tuning. (USES EDIT CREDITS)
-
AUTO TUNE (START HERE!)
AUTO TUNE WILL NOT COST YOU EDIT CREDITS
Your account starts with 7 Auto Tuning uses. Every 1,000 edits you complete, an additional Auto Tune will be added back (up to a max count of 7 auto tunes).
STEP 1:
Select 25 images in Lightroom Classic. These should be a varied selection of images to enable tuning across a variety of scenarios.

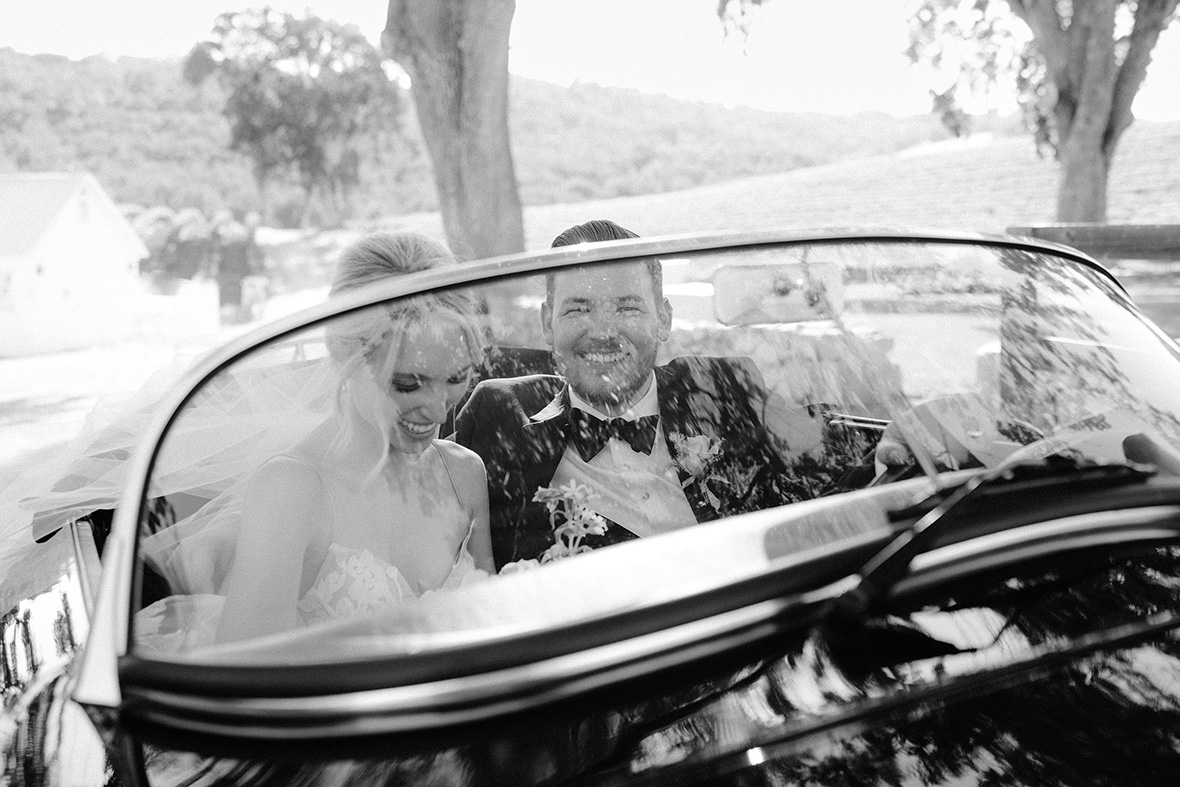
Images by Jose Villa
STEP 2:
Go to File > Plug-In Extras > Custom Tuning

STEP 3:
In Custom Tuning, select the Preset you would like to Tune. Note: Tuning is synced to the cloud and will be available on other devices you are logged into.

STEP 4:
In the Custom Tuning menu, select “Begin Auto Tune.”

The following dialogue window will appear. Please review the instructions carefully and then click “OK.”

The dialogue window will close. Click “Finish.”

STEP 5:
Impossible Things will edit these 25 images with the selected preset. When the editing is complete, review the results and make individual adjustments and corrections to the 25 images using any sliders in the Basic Panel.

STEP 6:
Once the adjustments are completed across the 25 images, return to “Custom Tuning” – File > Plug-In Extras > Custom Tuning.

Your tuning preferences will have been translated to the Custom Tuning sliders. Click “Apply” or “Finish” to save the adjustments.
-
MANUAL TUNE
STEP 1: Start with 20 – 25 images from a varied set
DO DO NOT Start with 20 – 25 images. Start with 100 + images.
Start with 1 image.Select a varied set Select similar images or images in a sequence We recommend getting started with a small sample of 20 to 25 images before jumping in and committing to a large order. The best option would be select a sample set with varying scenarios or a small cross section of a full event. It is not recommended to use images in a sequence or overly similar photos for this step.
Images by Jose Villa
When you have your set, run Impossible Things by choosing File > Plug-in Extras > Edit Photos. From within the Edit photos dialog, select the preset that you are wanting to tune and proceed with the order. Impossible Things will now edit your photos for you for review.
Step 2: Review images, make adjustments, note trends
After running Impossible Things, review your images. Make adjustment as needed and pay attention to editing trends while you’re moving through the set. Did you notice that it feels overly bright? Are you adjusting by pulling the exposure down in most cases?
One handy trick is to check your history for each photo. The history will be located in the Develop panel just below your presets. Here you will find your edit steps.

Review these settings from image to image and make note of the overall averages. Did you tend to add 3% more warmth in temperature? Maybe you found yourself lowering the exposure by about a third of a stop each time.Note: It’s always best to focus on the set as a whole, as there will likely be one or two images that edit a little different than the rest.
Step 3: Translate trends to Impossible Things Custom Tuning
Open up Custom Tuning in the Impossible Things menu File > Plug-in Extras > Custom Tuning. Here, select the same preset and proceed to add the adjustments. In this case: Temperature +3%, Exposure -0.33

Click apply or done and your preferences will be stored with your account in the cloud.
Step 4: Re-run original edit
Run the same images again through the plugin using the same preset. You should now see your tuned settings applied, and if you work through and edit the photos again, you will find that you need far fewer adjustments. When you feel good about the results, you can safely run Impossible Things on the full set and enjoy all the extra time you have saved for yourself.
Header image by Jeff Newsom
-
Posted On
01.20.23
-
Posted By
Things